The instinct after a storm, fire, flood, or impact event is to start fixing things. Get the water out. Clear the debris. Dry the place out. That instinct is understandable. Nobody wants to sit in a damaged building longer than they have to.
But cleaning up before you’ve properly documented the damage, and before a licensed inspector has assessed the property, is one of the most common mistakes people make when lodging a building insurance claim. Once the evidence is gone, it’s gone. And insurers know it.
This guide covers what to do in the period between the damage occurring and repair work starting. Done properly, it protects your claim and gives you a record you control.
Step 1: Get a Professional Inspection Booked First
Before you photograph anything or touch anything, book a professional building inspection.
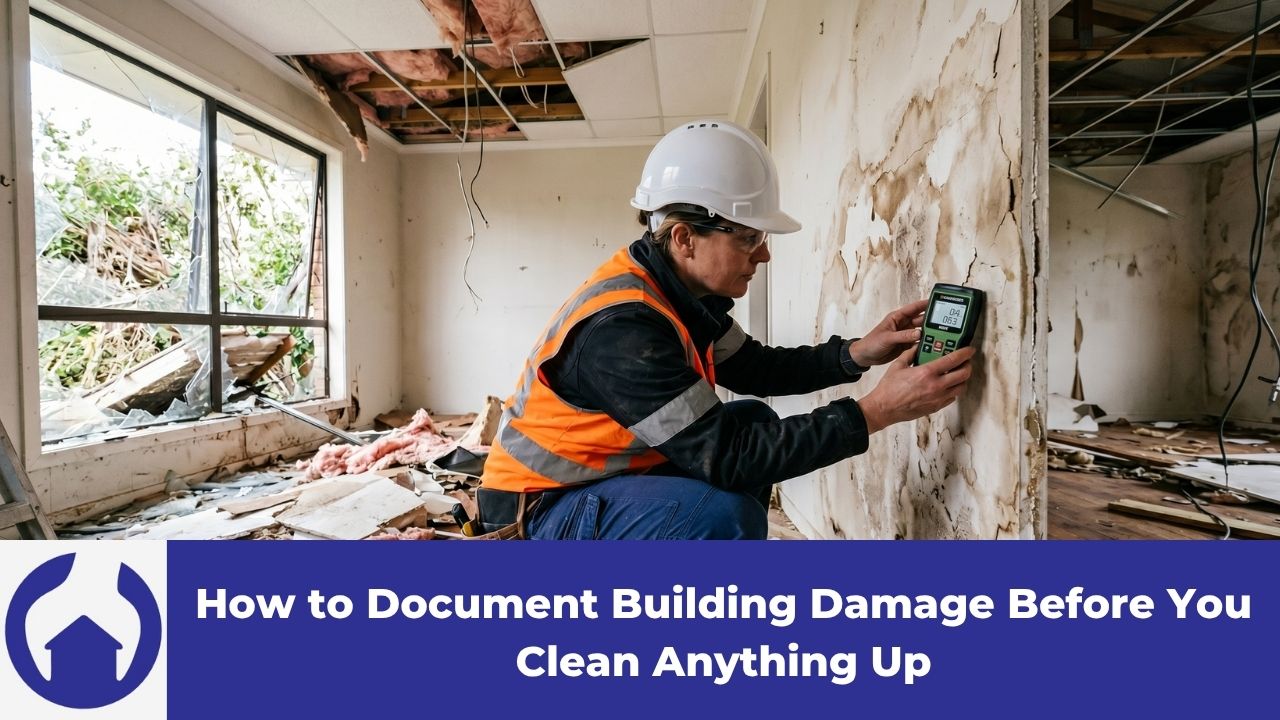
This is the single most important step, and it needs to happen before clean-up begins for a straightforward reason: a licensed building inspector will find damage you won’t. Water that has tracked into wall cavities. Heat damage to structural framing that looks intact on the surface. Moisture sitting in a subfloor that won’t be visible until it’s caused timber decay. Concealed damage that, once the clean-up is done, leaves no trace.
Your own photos are valuable, and we’ll get to those. But they can only capture what’s visible to you. A professional report prepared by a licensed builder, using thermal imaging and moisture metering, documents the full scope of damage including what’s hidden. That report is independent, it’s prepared by someone with no stake in the outcome, and it creates a professional record that carries weight with insurers in a way that a phone camera album doesn’t.
CTP Pest and Building Inspections conducts building defect inspections specifically for situations like this: post-event damage assessment with same-day reporting. Our inspectors are licensed builders with a minimum of 25 years’ experience. We use thermal imaging on every inspection as standard, which is what finds the damage that matters most in insurance situations.
Book before the clean-up starts. The inspection can typically be completed within 24-48 hours of your call.
Step 2: Photograph Everything Before You Move or Remove Anything
Once you’ve made the booking, start documenting visually. The goal is to capture the state of the property exactly as the damage left it, before anything is moved, removed, cleaned, or repaired.
Work room by room, methodically. Don’t edit as you go. Take more photos than you think you need.
For each affected area, capture
- Wide shots showing the full context of the damage in relation to the room or space.
- Mid-range shots showing the specific damage clearly.
- Close-ups of the damage itself: cracks, water staining, impact marks, charring, displaced materials.
- Any water lines or tide marks showing how high water reached.
- Debris in place, before removal.
- External damage from multiple angles, including the roof from ground level if safe to do so.
Use your phone’s timestamp function or check that your photo metadata is recording date and time. This matters if the timing of the event is disputed.
A few things people commonly forget to photograph
Roof damage from inside the roof space. If you can safely access the manhole and look in, do it and take photos. Subfloor damage if accessible. Contents damage alongside building damage (your insurer may need both). The exterior of the building from the street, showing the property in context. Any vehicles, fences, or outbuildings affected by the same event.
Step 3: Write Down What Happened While It’s Fresh
A written account of the event, prepared by you, dated, and kept with your claim documentation, is more useful than it sounds.
Note the date and time the damage occurred or was discovered. Describe what you observed when you first saw the damage. Note any weather conditions, the source of impact, or what you believe caused the damage. If there were witnesses, including family members, neighbours, and tradespeople who were present, jot down their names.
This isn’t about creating a legal document. It’s about capturing detail while your memory of the event is accurate. Claims can take weeks or months to resolve. By the time an assessor asks you exactly what you found and when, the specifics can get blurry.
Step 4: Report to Your Insurer, But Don’t Authorise Repairs Yet
Notify your insurer promptly. Most policies have a requirement to report damage within a reasonable time frame, and delaying notification can complicate a claim.
When you report, describe the damage factually. Stick to what you observed. Don’t estimate repair costs or speculate about causes at this stage. That’s what the assessment process is for.
Critically: do not authorise or commence repair work until you’ve received written confirmation from your insurer about the claims process and what’s approved. This includes what might feel like urgent temporary repairs. If you need to make a temporary fix to prevent further damage (tarping a roof, for example), photograph it before and after, keep receipts for any materials used, and notify your insurer that you’ve done it.
Permanent repairs commenced before the insurer has assessed the damage can give them grounds to dispute what the event caused.
Step 5: Keep Every Receipt and Record
From the moment the damage occurs, start a folder (physical or digital) and keep everything in it.
This includes call logs and emails with your insurer. Any tradespeople you contact for temporary repairs. Receipts for materials. Quotes you obtain. The professional inspection report. Your own photos and written account. Any correspondence from neighbours or third parties relevant to the event.
Insurance claims can drag out. Having everything organised and accessible from the start makes a real difference when you’re asked to provide documentation weeks after the fact.
Why the Order Matters
The sequence (inspect first, document thoroughly, notify insurer, then repair) isn’t bureaucratic caution. It’s practical protection.
Insurers are experienced at assessing claims. They know what properly documented damage looks like and what it doesn’t. A claim supported by an independent professional inspection report, time-stamped photographs, and a written record of the event is a very different thing to a claim where the clean-up happened first and the photos show damage that’s already partially repaired.
An independent report from a licensed builder also gives you a basis to push back if an insurer’s assessor underestimates the scope of damage or characterises structural damage as cosmetic. That happens. Having your own documentation means you’re not relying solely on an assessment prepared by someone working for the other side of the claim.
Get the Inspection Done First
If you’ve experienced building damage and you’re not sure where to start, the answer is straightforward: call us before you do anything else.
CTP Pest and Building Inspections provides building defect inspections across Newcastle, Lake Macquarie, Hunter Valley, Maitland, Port Stephens, and the Central Coast. Reports are delivered the same day as the inspection. Our inspectors are available to discuss findings directly with you and can provide documentation suitable for insurance purposes.
Call our team on 0488 885 203 to book in an inspection or alternatively, Order an Inspection or get An Instant Quote.